How to Add a Blog to Your Squarespace Website (2022)
This post may contain affiliate links. I may receive a commission for purchases made through these links (at no cost to you!)
Adding a blog to your website is kinda like sprinklin’ Peter Pan fairy dust all over your marketing. It’s the magic ingredient to help your business take off - and start ranking in Google!
With a blog, you have the opportunity to rank higher by positioning your online business as the go-to guru for all of your ideal client's questions. And while there is a bit more to it than that (like actual strategy) - you have to start with the basics.
So...
In this quick how-to post, you'll learn how to get started by FIRST adding a blog to your Squarespace website.
Prefer to watch?
1. To start - you'll need a Squarespace website.
If you don't already, below is a link to try Squarespace for yourself. Save 10% off your first subscription of a website or domain by using code PARTNER10.
(Yes, that's ↑ an affiliate link!)
2. Add a blog to your site.
Squarespace makes adding a blog so easy - it's built right into the platform. All we have to do is add it to the site. So go ahead and open your site, then navigate to the menu panel on the left.
✹ Click Pages

✹ Then the + icon to add a new page

✹ Scroll down to select Blog
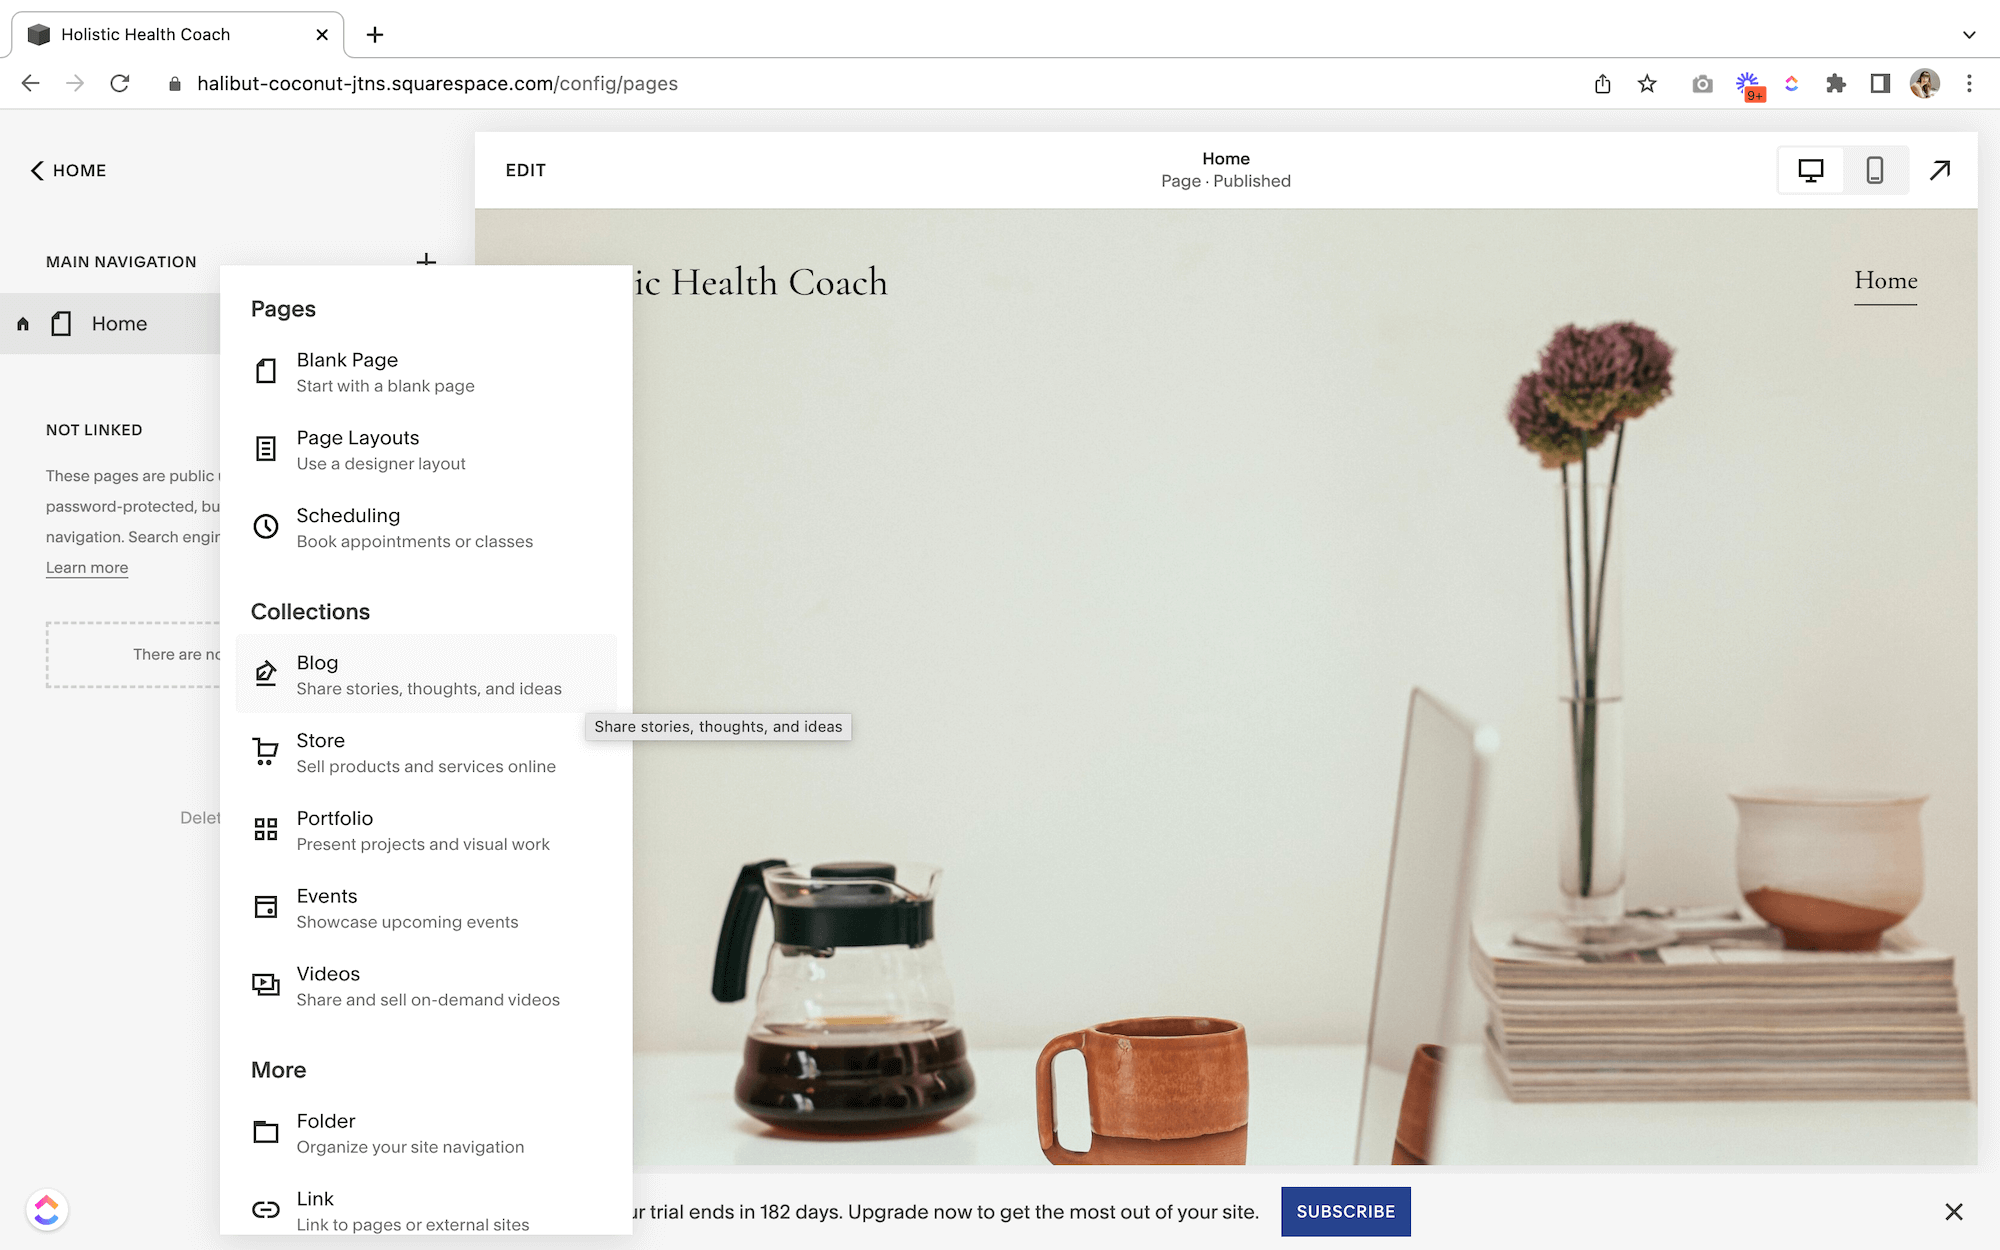
✹ Then choose a Template
Don’t worry too much about which template you select, you can always edit this later.

✹ Enter a Page Title
I would highly recommend sticking with, “blog.”

✹ Then press Enter, and voilà! A brand new baby blog.

3. Edit the blog page
Blogs in Squarespace are organized into blog pages (where all of your blog posts are hosted) and individual blog posts (the actual articles that visitors will read).
To edit the Blog Page
✹ Click Edit
✹ Hover over the first image and select the Pencil Tool

✹ A Pop-up Menu will appear

✹ Start by selecting a Layout
✹ Under the Format Tab, select the drop-down arrow for layout and choose a style
Side-by-side blog - images and text are side by side
Single column blog - A large sweeping image with text underneath
Masonry blog - a grid where the rows vary depending on the original image size
Basic grid blog - posts are aligned with matching image ratios in a fixed grid layout
Alternating side-by-side blog - images and text are side-by-side and alternate or flip every other post
Depending on which layout you select you’ll be given different styling options in the pop-up menu for the width, images, text, metadata, and iconography. Play around with these settings until you've found a design that you like.
Note: If you have another blog page on your site where you've chosen the same layout, then the settings you choose here will apply to it as well.

Next up - colors and fonts :)
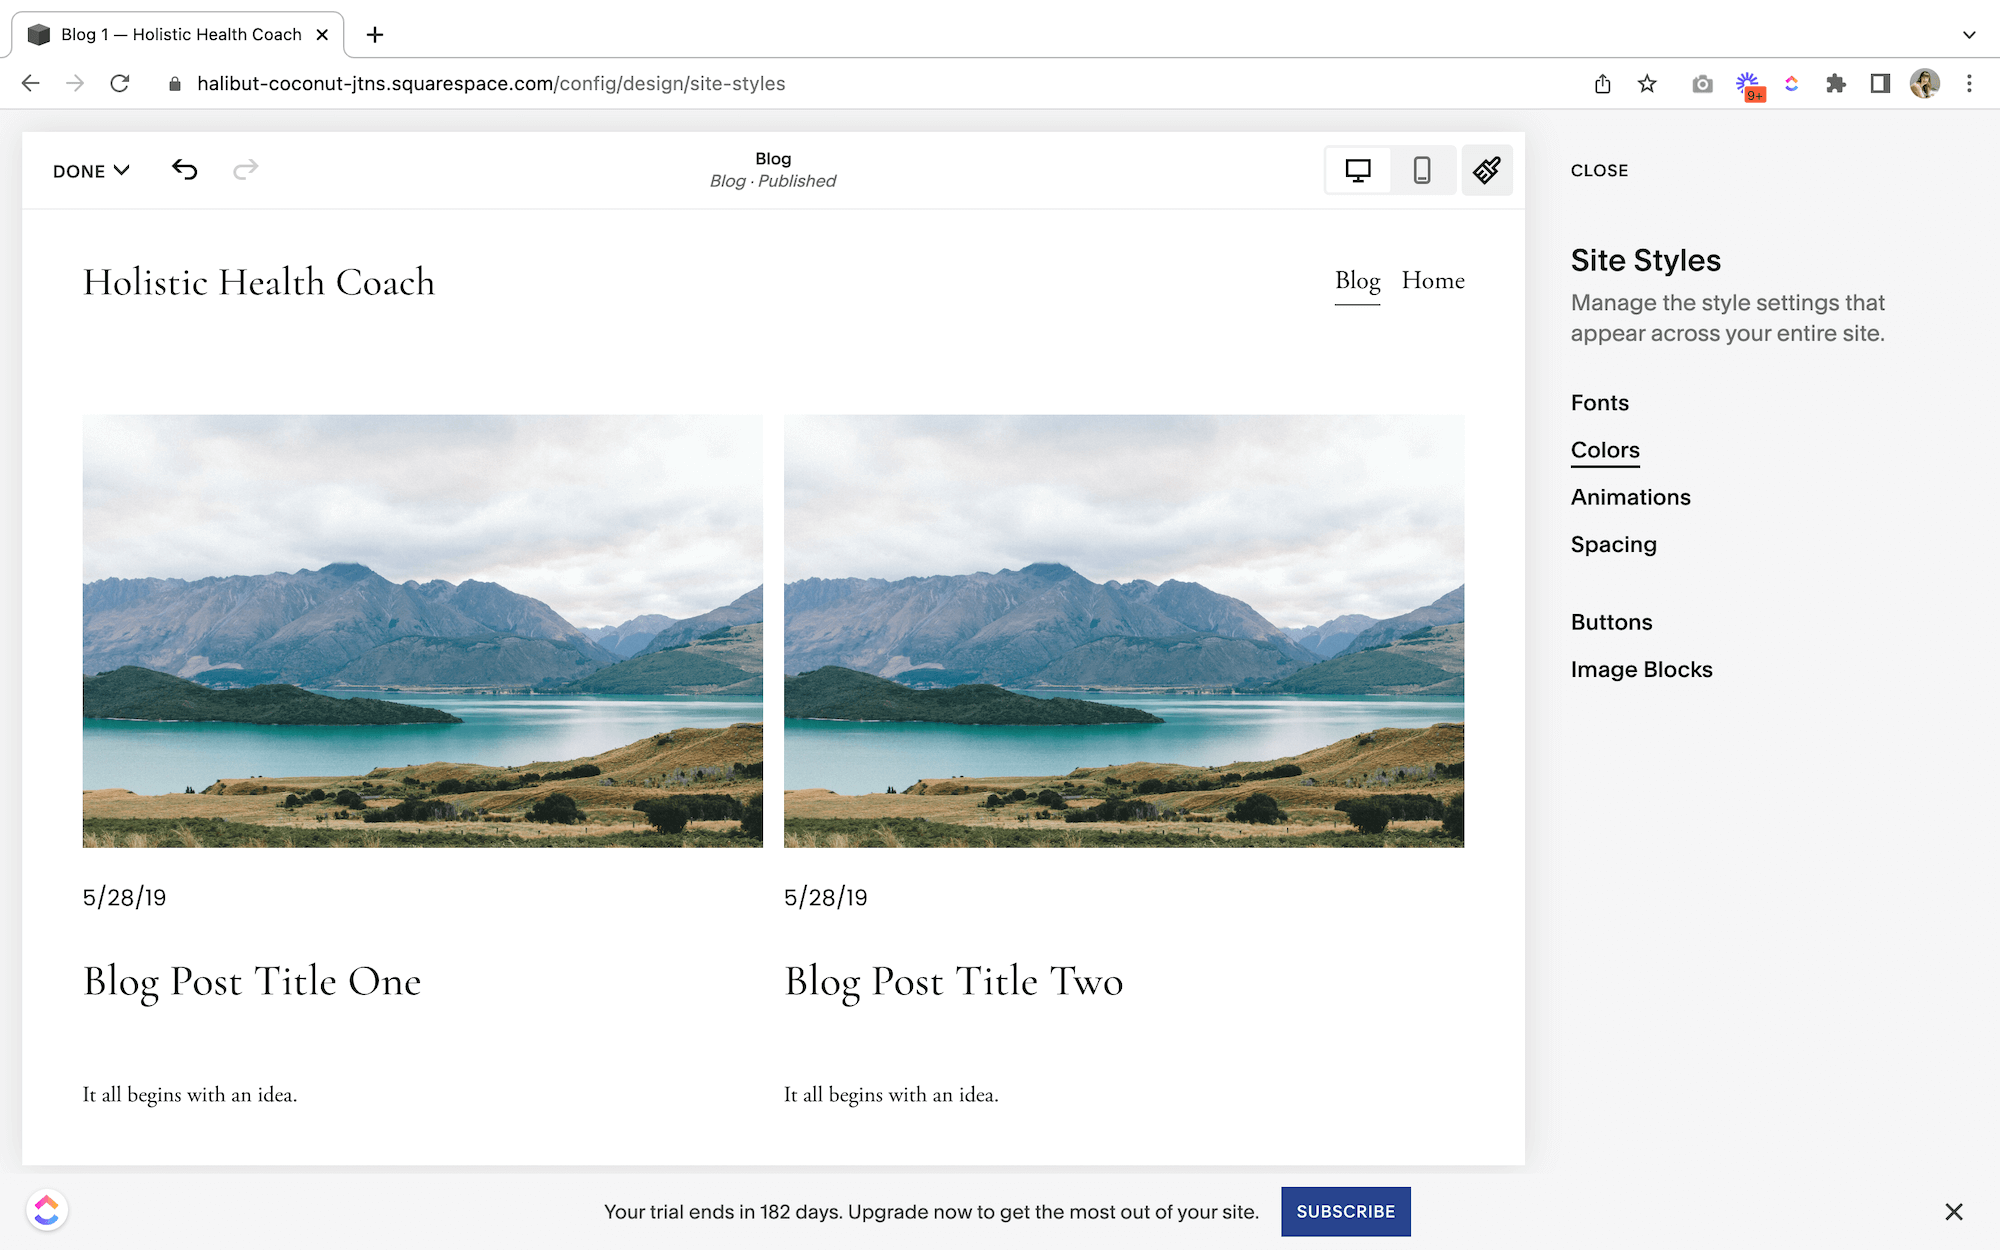
✹ In the same pop-up menu, navigate to the Colors tab
✹ Select a Color Profile

This is something I usually set up site-wide before editing the blog. But if you haven't done this part, head to the top of the editor.
✹ Select the Site Styles - a paintbrush icon
✹ Click Colors
✹ Select Edit Palette

✹ Then set your site-wide color settings in the Palette Editor

✹ Go back to the Site Styles
✹ Click Fonts

✹ Select Assign Styles

✹ Scroll down until you see the Blog Layout categories
✹ Click the Blog Layout you previously selected for your blog page
✹ Select the font for Titles, Excerpts, and Meta-data

✹ Click on any one of these and select a Style and a Size

If you want to create a completely custom style and size for your blog page
✹ Select Custom and edit as you’d like
Note: Using consistent fonts creates a professional look for your site - more often than not, it's best to stick with the original font settings and have no more than 2-4 fonts for everything.

If you haven't set up your fonts for the entire site, you can choose site-wide settings similar to the color palette.
✹ Go back to the Style Editor
✹ Select the Fonts tab and then input your global text styles.
This will be styling for your headings, paragraphs, buttons, and miscellaneous text throughout the site.

*Virtual high five*
That wraps up the formatting for the blog page! Make sure you hit Done & Save before we move on!
4. Add a new blog post
Blog posts are subcategories of a blog page. Each post will have its own page with its own URL - you can have as many posts on a blog page as you’d like 👀 - so feel free to go crazy if that's your thing.
To add a New Post
✹ Click the + icon
✹ A New Post will pop up

✹ Add a keyword-rich Title to your post

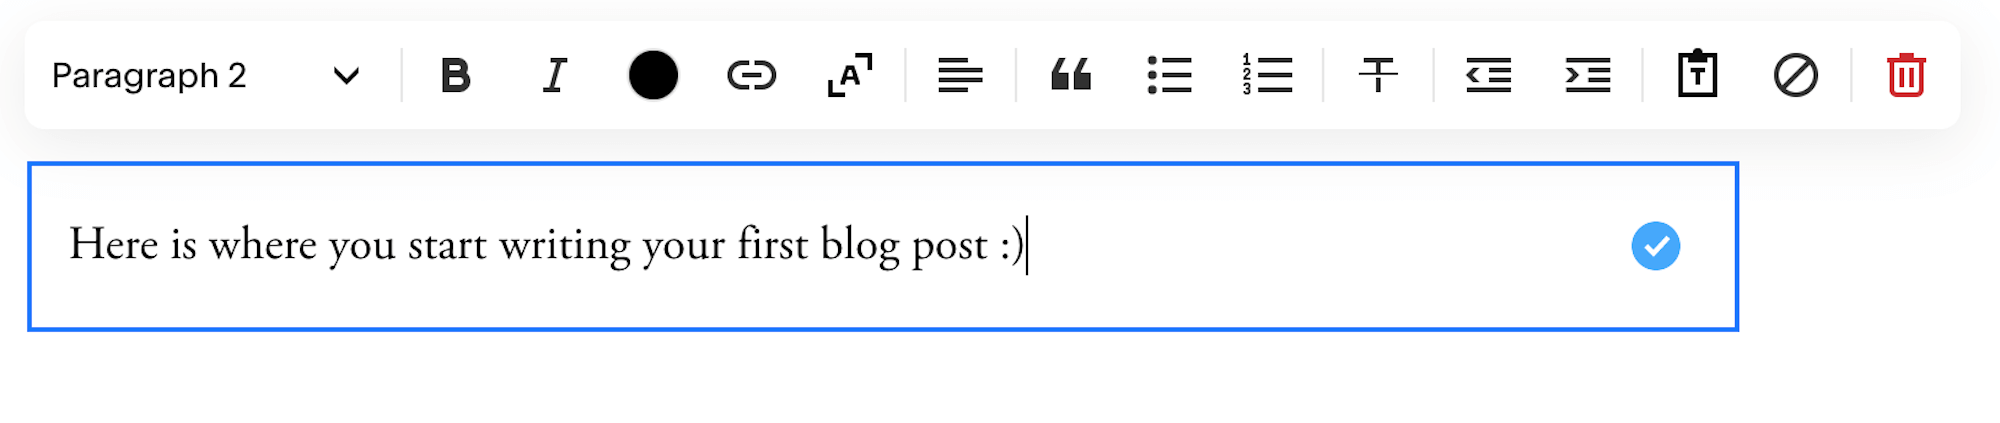
✹ Then click into the provided Text Block to start writing

Like other text blocks on your site, you have a text toolbar.
✹ With the Toolbar, you can:
Format your paragraphs and headings
Bold
Italicize
Change the text color
Add links
Scale your text
Add quote formatting
Bullet points
A numbered list
Strike-through text
Increase or decrease the indent
Paste as plain text
Remove formatting
Or completely send everything to the trash bin
You can also create a Text Background Color
✹ Click on the block's Blue Border or the label that says Text to bring up the block's toolbar.
✹ Click the Pencil icon
In the Design tab
✹ Toggle on the Background button
✹ Set Corner Radius
✹ Change the Padding
To change the color of the overall block, head back to your section's Color Theme in the site styles editor.

Other tips:
✹ If you're copying and pasting text from somewhere else, be sure to use the Plain Text tool by clicking the clipboard icon

✹ You can also remove formatting by clicking the circle with the Strike-out

✹ For less space between your paragraphs, use Shift + Enter

✹ To easily access emojis, use Windows logo key + . on PC and Control + Command + Spacebar on Mac

✹ To underline, use Ctrl + U on PC and Command + U on Mac

Adding other content
Similar to Squarespace's original 7.1 classic editor, you can add blocks to your post.
✹ Hover over a Block
✹ Click the blue Insert symbol.

By doing this, you’ll open a Menu to all the available blocks you can use for your post.

Insert images, buttons, video, audio, a newsletter sign-up... the options are endless. And then arrange these blocks by dragging and dropping them around the page until you get a format you like.

Tips for the footer.
Once you've completed your post you can add additional elements to the footer that will help web visitors better navigate your site and get to your business.
✹ Add a bio - short and sweet this can be a profile image plus a 2-3 description, similar to something like your Instagram profile

✹ Add read more links - a great way to do this is by adding a summary block

✹ Add a call to action - either a button directing people over to your services or a newsletter block asking them to sign up for your freebie.

Now that you've nailed the post be sure to click Done & Save.
Next up - edit the blog post settings
Different from editing the blocks on the actual post, you can make global design changes that populate throughout all of your blog posts.
✹ Click Edit Section

Under the Format tab, you can change the
Content width
Text alignment
Meta position
Visibility of categories/date/author/author profile
The delimiter style
Header spacing

Then, under the Colors tab, you can select the color profile you would like applied to all of your blog posts.
Note: This change will update all of your blog posts, not just the current one you are working on.

Next - set up your blog post and blog page settings
In an upcoming post, I’ll be sharing how to customize and set up your post images, SEO, excerpts, and more! Subscribe to my list to be the first to know when a new blog post drops!